|

|
|
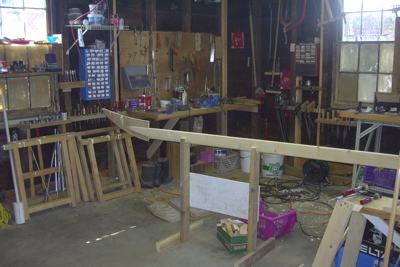
The strongback (not really that strong) is set on two supports. The bow and stern pieces fit the ends.
|
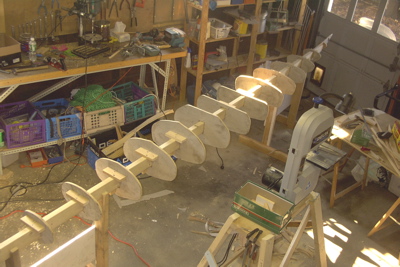
a few sections added and the shape starts to develop ...
|
|
|
|
with a bent strongback, things get tricky ...
|
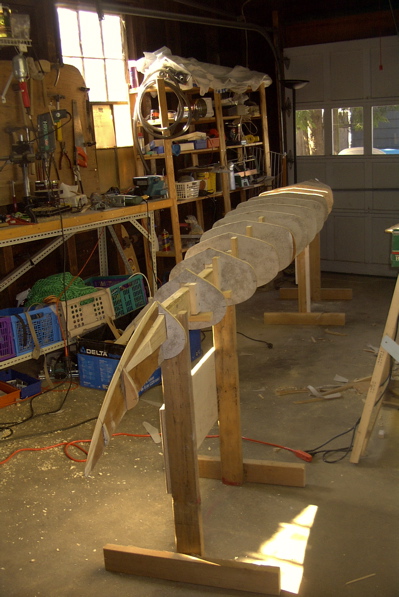
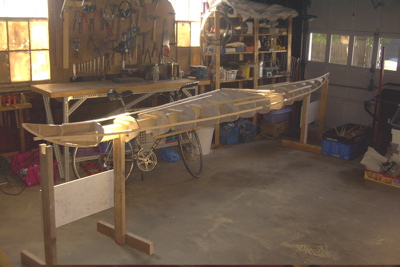
and turned upside down
|
|
|
|
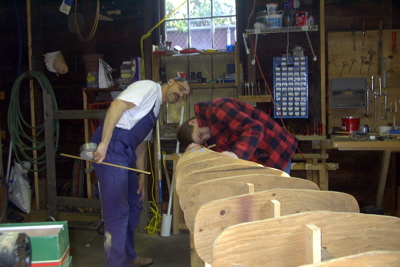
trust is good, checking is better ...
|
a few strips (not the real ones) help aligning the frames and point out small mistakes quickly. Looks pretty good so far
|
|
|
|
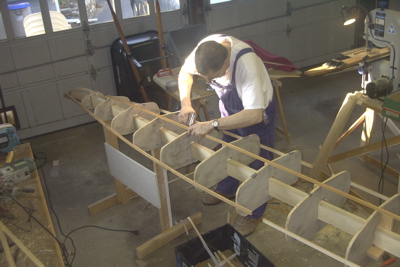
Using a heavy duty stapler that shoots cable-type 9/16" staples, strips follow function pretty quickly...
|
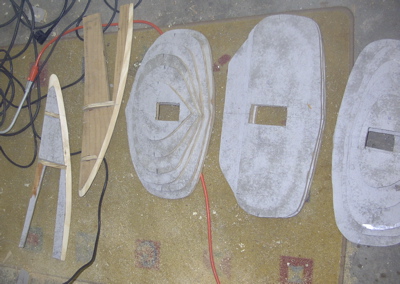
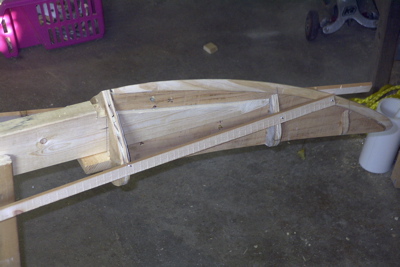
note the stem: white wood attached to the plywood shape of the stern. This will remain in the kayak while the plywood part will go out (eventually).
|
|
|
|
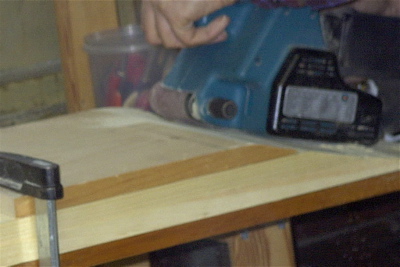
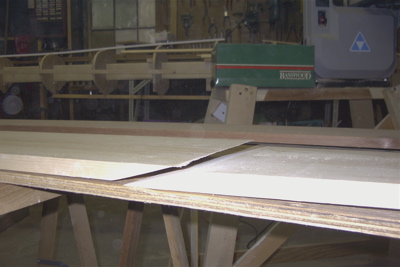
After buying white pine and red cedar boards, we had do join two boards each to get long strips. The scarfs are produced by grinding
|
The pine boards soon to be joined using carpenter's glue
|
|
|
|
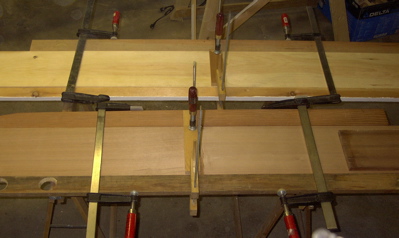
A few clamps fix the boards over night
|
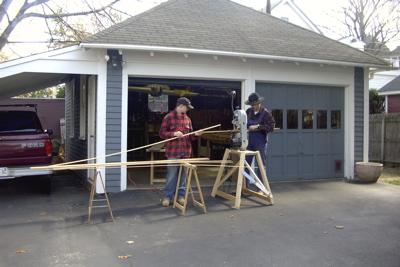
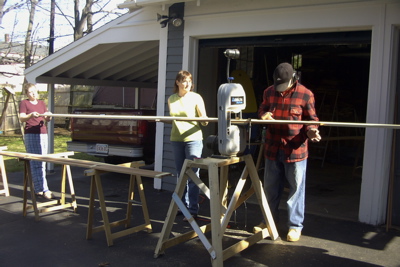
To cut the strips, we needed a nice day outside - the boards are now 19 ft long and space is required. The bandsaw is set up with a straight board for guidance
|
|
|
|
A family project - took a little longer than expected but worked poifect
|
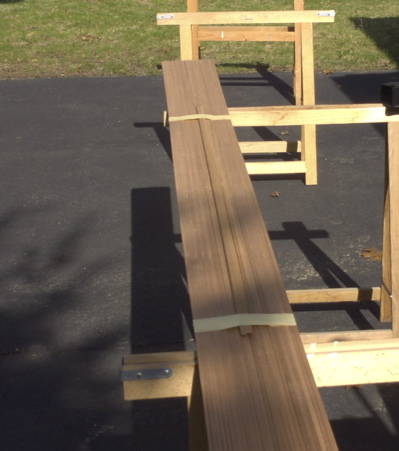
The result: a nice pack of strips, evenly cut with minimum loss due to the thin saw blade
|
|
|